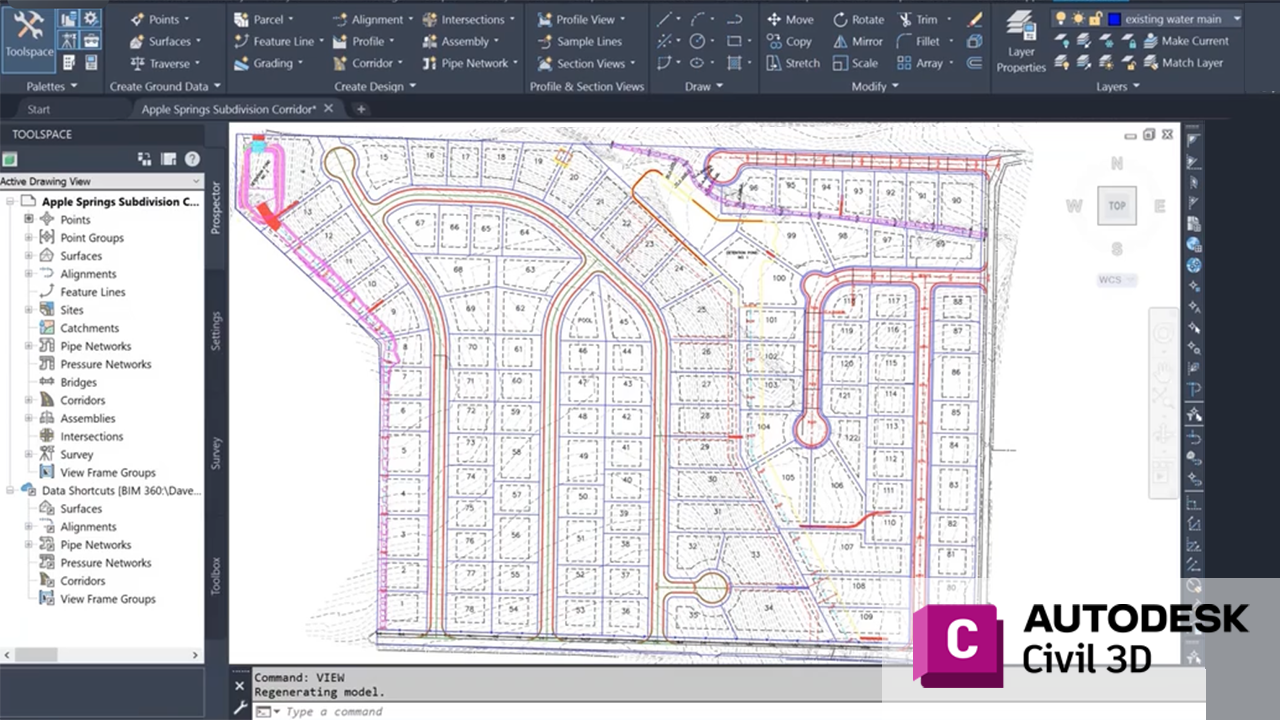
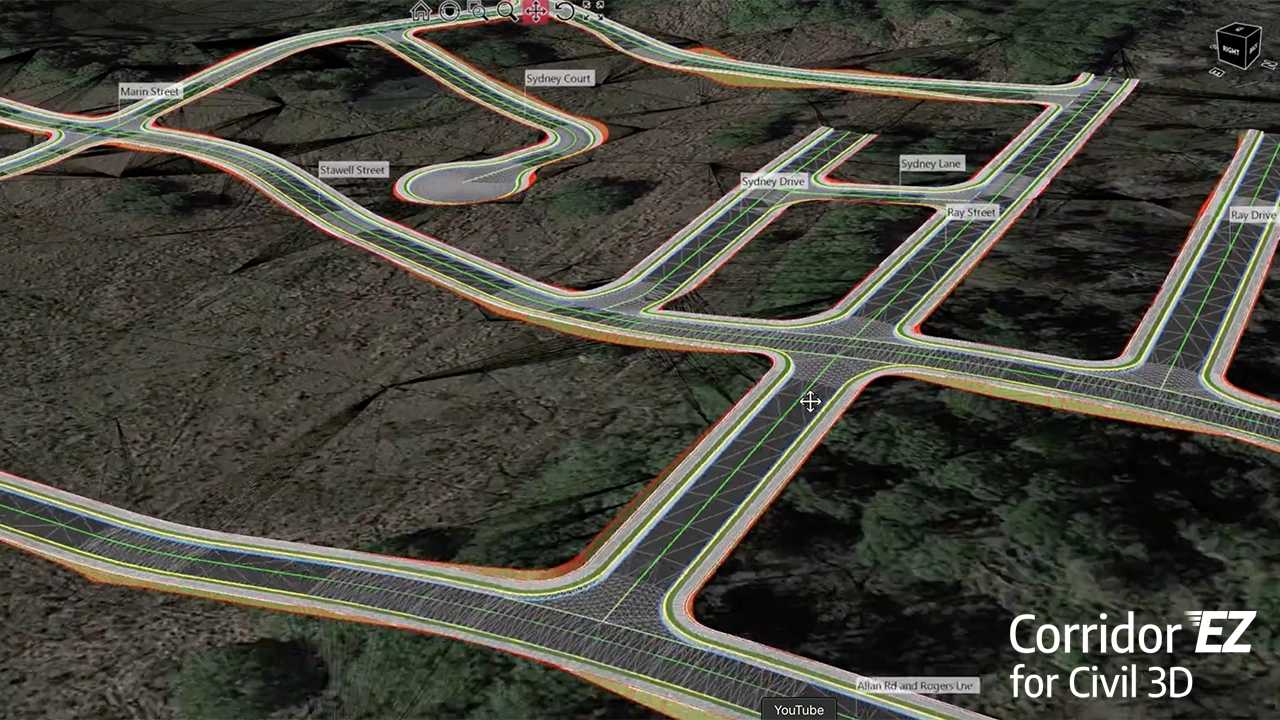
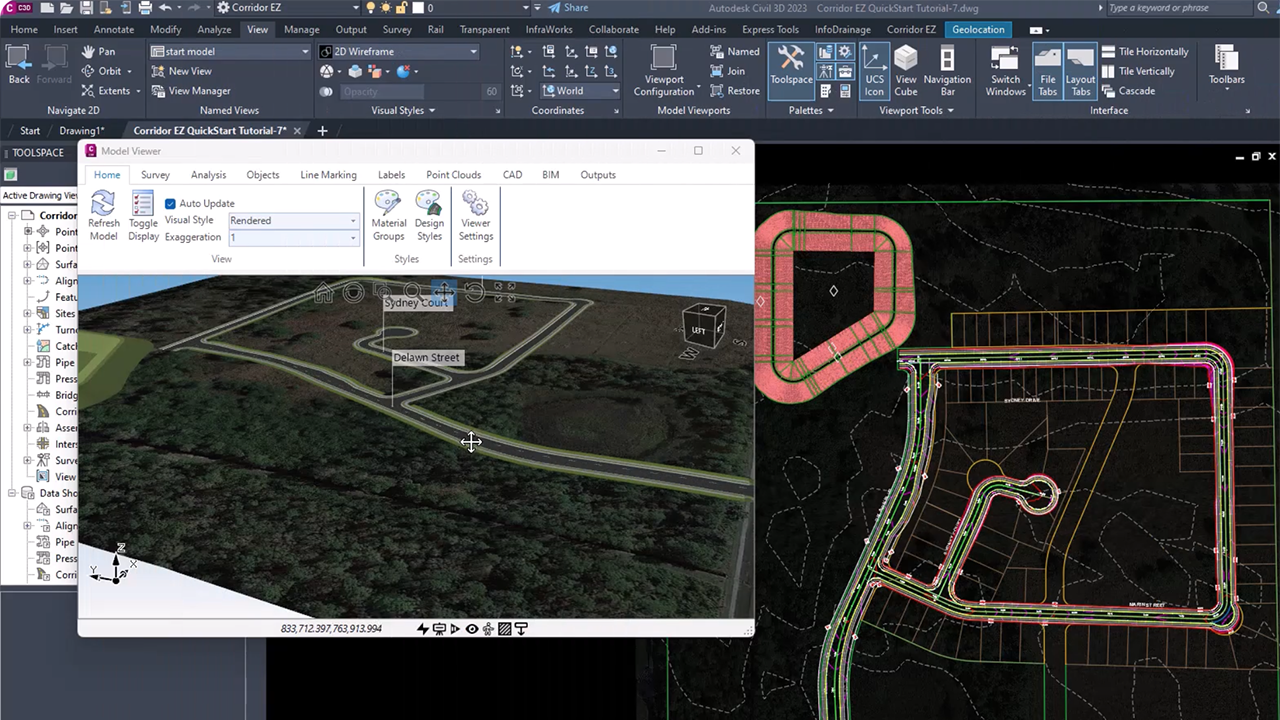
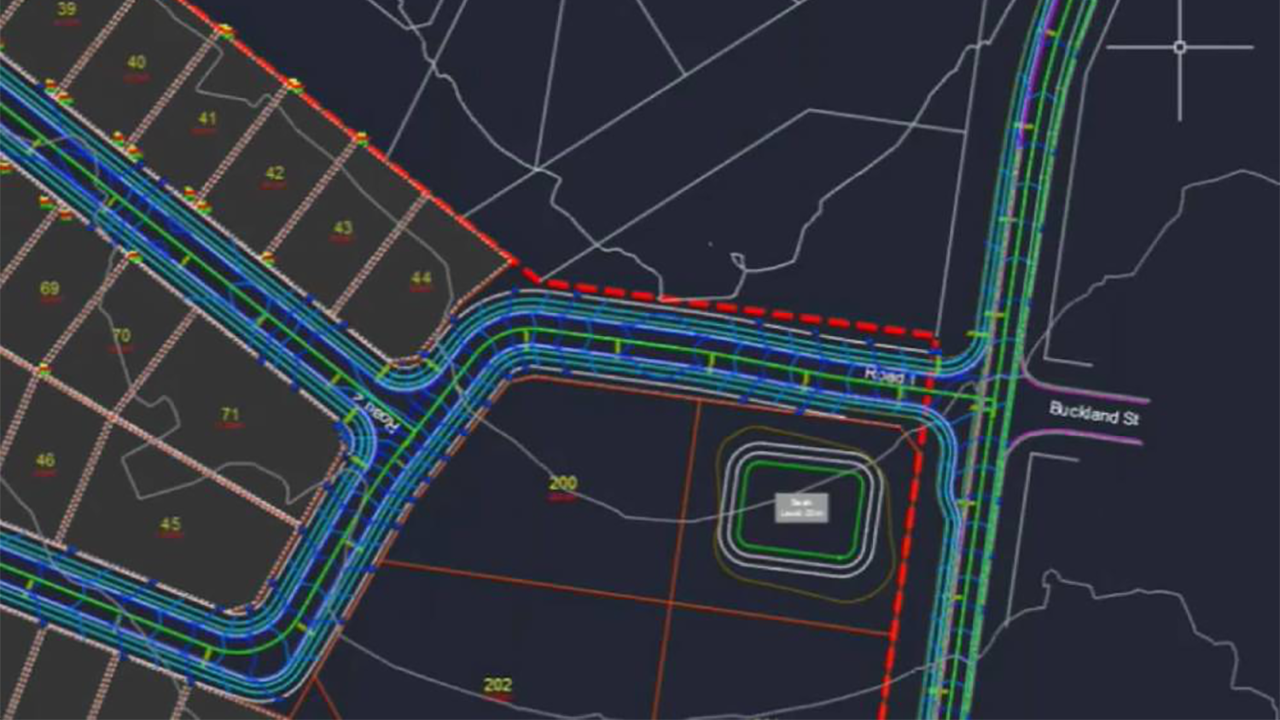
If you’re new to Autodesk Civil 3D, one of the most powerful design tools you’ll encounter is the corridor model.
Corridors bring together alignments, profiles, and assemblies to create a 3D representation of roads, highways, railways, and other linear infrastructure projects. In simple terms, corridors are where design intent meets real-world geometry.
A corridor starts with an alignment (the path of your road or feature), paired with a profile (the vertical design). To give that path shape, you attach an assembly, which is like a cross-section template for pavement, curbs, sidewalks, or shoulders. Civil 3D then sweeps that assembly along your alignment and profile, building a dynamic 3D model.
Why does this matter? Because corridors are intelligent objects. Change the profile, and the corridor updates. Adjust a lane width, and surfaces, daylighting, and quantities recalculate automatically. This parametric approach saves countless hours compared to static drafting.

How to Use Corridors in Civil 3D
-
Create the basics – Build your alignment and design profile.
-
Design an assembly – Add subassemblies (lanes, curbs, sidewalks, etc.) to match your project’s cross-section.
-
Build the corridor – Apply the assembly to the alignment and profile.
-
Refine targets – Assign surfaces, widths, and slopes so the model adapts to existing ground or design constraints.
-
Generate outputs – Extract corridor surfaces, cross-sections, and material quantities for construction documentation.
Civil 3D corridors may feel complex at first, but once you master the workflow, they become the backbone of efficient, accurate design. Whether you’re laying out a subdivision street or a major highway, corridors help ensure your project is both buildable and adaptable.


