Transcript
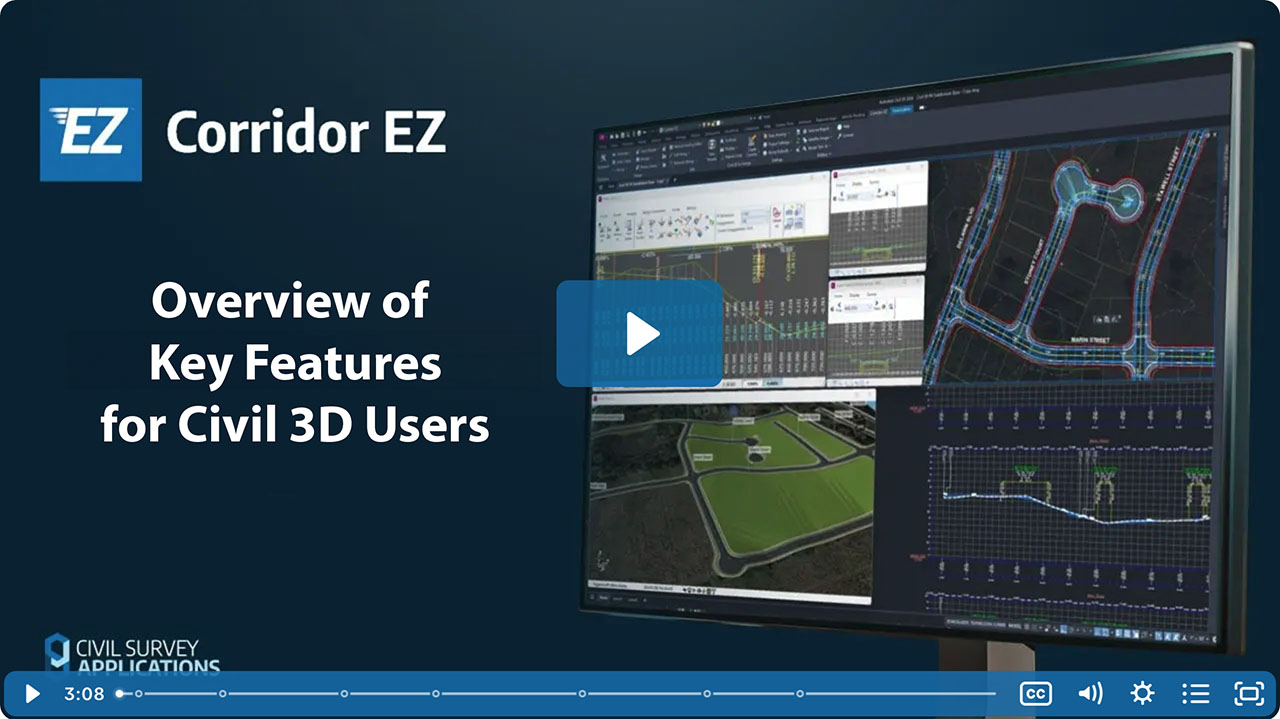
As you create your road network, you’re building a corridor easy model with a top surface automatically created from this process. You can easily extract the Civil 3D corridor from any model directly from the tool space.ust right click on the corridor object group to proceed with creating a Civil 3D corridor.
When you go to create the Civil three d corridor you’ll select an exchange file. The corridor exchange file lets you select the sub assemblies to apply with sub assemblies created for the codes in your template and with you setting which properties of the sub assembly you want corridor easy to control.
In the exchange setup shown here, the code ETW will be replaced with a superelevation AOR assembly and corridor easy is controlling the width, slope and the full pavement layer depths of the sub assembly.
You set up corridor exchange files to suit the sub assemblies you’d like to use, including those you create with the sub assembly composer.
There are other settings you can adjust to decide how to manage the intersections and any variations in your cross sections.
When we make the corridor, we make it like a user would. We use assemblies where there are significant changes as well as apply target mapping to alignments and profiles and finally parameter overrides when required.
Click to create the corridor and at the prompt select where to place the assemblies.
The corridor creation process commences.
Firstly, the software builds the corridor using just the assemblies.
Then corridor easy reviews each cross section to set up the target mapping and overrides.
These are pushed into the corridor. It is rebuilt and displayed ready for you to continue editing and to produce your outputs from the corridor such as section views.
It may be useful to extract feature lines for design codes to use for design of the surrounding site. Simply right click on the model in the tool space and select to create feature lines. After picking a site, feature lines will be created for every string code in the model.


